Proper wall preparation is the foundation of any successful wall fabric installation project. Whether you're installing decorative wall fabric in a residential space or acoustic wall fabric in a commercial setting, the condition of your walls directly affects the final appearance, durability, and performance of your fabric wall covering. Many installers and homeowners underestimate the importance of this preparatory phase, leading to adhesion problems, visible imperfections, and premature wear. Understanding the correct steps to prepare your walls ensures that your wall fabric adheres smoothly, maintains its aesthetic appeal, and delivers the intended acoustic or decorative benefits for years to come.
Before beginning any fabric wall covering project, assess the current wall condition thoroughly. Your walls must be clean, dry, structurally sound, and free from contaminants that could prevent proper adhesion. This preparation stage typically takes several hours but saves significant time and expense by avoiding installation failures, rework, and material waste. A well-prepared surface transforms the installation process from challenging to straightforward, allowing the acoustic wall fabric or decorative wall fabric to perform exactly as designed.
Begin by examining every section of the wall you plan to cover with wall fabric. Check for cracks, holes, uneven patches, or damage that could affect the final appearance. Paint may be peeling, drywall compound may be cracked, or plaster may be deteriorating—all of these conditions require attention before installing your fabric wall covering. Press firmly on the wall surface to identify areas where the paint or finish is not adhering properly. These loose spots must be addressed to ensure your decorative wall fabric or acoustic wall fabric sits on a stable, uniform surface. Also inspect for water damage, mold, or staining, as these indicate underlying moisture issues that must be resolved before installation.
Once you've identified structural issues and planned repairs, thoroughly clean the entire wall surface with a damp cloth or sponge. Dust accumulation, pet hair, cobwebs, and environmental particles block adhesion between the wall fabric and the substrate. Wipe walls systematically from top to bottom, allowing any excess moisture to dry completely before proceeding. For walls with stubborn grime, use a mild detergent solution and ensure all soap residue is removed by rinsing with clean water. Pay special attention to corners, baseboards, and areas around fixtures where dust tends to accumulate. Allow the wall to dry naturally for at least 12 to 24 hours before moving to the next preparation stage, particularly in humid environments where drying times extend.
Repair all visible wall defects before installing wall fabric or any fabric wall covering. Use spackling compound for small holes and cracks in drywall, following product instructions for application and drying times. For larger holes or damaged areas, apply multiple thin coats of joint compound, sanding between coats to achieve a smooth, level surface. If your wall has significant damage, consider using wall repair patches designed specifically for drywall damage. Once repairs are complete and fully dried, sand all patched areas smooth with fine-grit sandpaper so they blend seamlessly with the surrounding wall. This smoothing step is critical for acoustic wall fabric and decorative wall fabric applications, as any texture variation beneath the covering will be visible and will compromise the professional appearance of your final installation.
After all repairs are complete and sanded smooth, apply a quality primer to the entire wall surface. Primer creates a uniform, stable base that improves adhesion for your wall fabric and prevents uneven absorption into different wall materials. Choose a primer specifically designed for wall coverings or wallpaper applications, as these products are formulated to maximize the bond between adhesive and substrate. Apply primer evenly using a roller, paying special attention to repaired areas and end walls where absorption patterns may differ. Allow the primer to dry completely according to manufacturer recommendations before beginning installation. For acoustic wall fabric or decorative wall fabric projects, primer application is non-negotiable because the fabric weight and intended longevity depend on strong, reliable substrate adhesion.
Before your wall fabric installation begins, verify that your walls have reached proper moisture levels. Use a moisture meter to confirm that wall moisture content is within acceptable ranges, typically below 12 percent for drywall. Excess moisture interferes with adhesive performance and can lead to mold growth beneath your fabric wall covering. Check that the room where you'll install the decorative wall fabric or acoustic wall fabric maintains a stable temperature between 60 and 85 degrees Fahrenheit and humidity levels between 30 and 65 percent for at least 48 hours before and after installation. These environmental conditions ensure optimal adhesive curing and help the wall fabric bond permanently to the wall surface. If necessary, run dehumidifiers or adjust HVAC settings to establish proper conditions.
Protect adjacent surfaces, flooring, and fixtures before installation day arrives. Cover baseboards with painter's tape and lay down drop cloths to catch adhesive drips and protect floors. Identify wall outlets, switches, and architectural features that require special handling during installation of your wall fabric or fabric wall covering. Mark ceiling lines and establish reference points to ensure your decorative wall fabric or acoustic wall fabric hangs straight and maintains consistent alignment. Measure wall dimensions accurately and verify that your fabric panels account for pattern matching and necessary overlap. This final layout planning stage eliminates confusion during installation and ensures efficient, professional results from the moment adhesive contacts the prepared wall surface. Proper preparation transforms wall fabric installation from a stressful, uncertain process into a controlled, predictable project that delivers beautiful, durable results.
No, existing wallpaper must be completely removed before installing wall fabric or any fabric wall covering. Old wallpaper acts as a barrier between the adhesive and the wall substrate, preventing proper bonding and risking failure. Remove all wallpaper, clean the wall thoroughly, repair any damage, apply primer, and then proceed with your decorative wall fabric installation. Attempting to apply fabric wall covering over existing wallpaper almost always results in poor adhesion and eventual separation.
Wall preparation time varies based on wall condition but typically requires one to three days including drying periods. Simple cleaning and priming might take one day, while walls requiring extensive repairs, damage correction, and multiple drying stages may need two to three days. For acoustic wall fabric or decorative wall fabric projects, do not rush this phase—thorough preparation is far less costly than addressing installation failures after the fact.
Choose a quality wallcovering primer or heavy-duty wall primer specifically formulated for adhesive bonding. These primers create the stable, uniform base necessary for wall fabric, fabric wall covering, and decorative wall fabric applications. Avoid generic primers not designed for wall coverings, as they may not provide adequate adhesion support for the weight and durability requirements of acoustic wall fabric or other specialty fabrics.

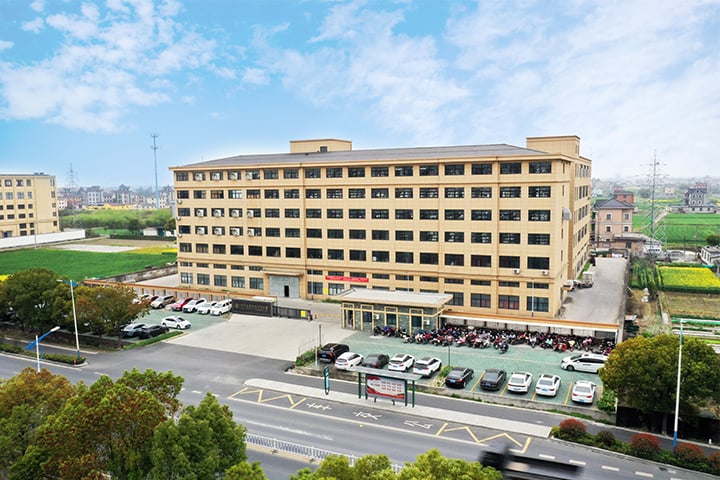
Hangzhou Meibi Decoration Material Co., Ltd. (FULITIR) delivers premium wallcoverings & soft decor solutions for luxury homes and chain hotels, trusted by Lavande, Vienna, Kyriad.
No.2001,Meilin Road,DangWan Town,XiaoShan district, HangZhou city,China
Copyright © 2026 Hangzhou Meibi Decoration Materials Co., Ltd. All rights reserved. Privacy Policy

 EN
EN

 Hot News