Installing mural wallpaper on interior walls transforms any room into a striking focal point that reflects personal style and sophistication. Whether you're updating a bedroom, living room, or office space, understanding the proper installation techniques ensures a professional finish that lasts for years. The process combines careful preparation, precise measurement, and methodical application to achieve flawless results that make peel and stick murals or traditional paste-based options look seamlessly integrated into your décor.
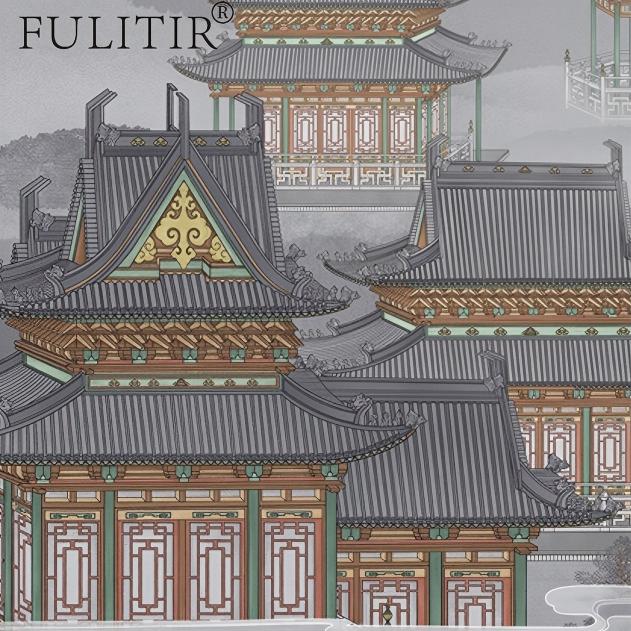
Modern wall mural designs offer homeowners unprecedented flexibility in customizing their living environments. From nature-inspired landscapes to geometric patterns and artistic illustrations, custom wall murals cater to diverse aesthetic preferences. The installation process remains consistent regardless of style, requiring attention to surface preparation, measurement accuracy, and application technique. Success depends equally on understanding your chosen product type—whether traditional adhesive-backed sheets or contemporary peel and stick murals—and following manufacturer guidelines specific to your material.
Before applying any mural wallpaper, evaluate your wall's current condition thoroughly. The surface must be clean, dry, and smooth to ensure proper adhesion and longevity. Remove existing wallpaper, paint flakes, or debris using a putty knife and appropriate wall cleaner. For peel and stick murals especially, surface preparation is critical because these products rely on pressure-sensitive adhesive that performs optimally on pristine surfaces.
Clean the wall with a damp cloth and mild detergent, then allow it to dry completely. Any remaining dust, grease, or moisture compromises the bond between the wall and your custom wall murals. Pay special attention to corners and edges where dust accumulates. Inspect for any holes, cracks, or uneven spots that may require spackle or primer application. A well-prepared surface is the foundation for professional-looking wall mural designs that appear perfectly installed.
Accurate measurement prevents costly mistakes and ensures balanced proportions in your finished installation. Use a measuring tape to record the wall's height and width, noting any architectural features like baseboards, crown molding, or outlet placements. Mark the center point of your mural wallpaper installation area with light pencil marks that remain invisible once the product is applied. This centerline approach ensures even distribution if your design contains symmetrical wall mural designs or repeating patterns.
Consider the room's scale and furniture placement when determining optimal positioning. Peel and stick murals offer flexibility for repositioning during application, but planning ahead minimizes wasted material and installation time. Take photographs of your space from different angles to visualize how custom wall murals will interact with existing décor elements. Proper planning transforms the installation process from stressful to manageable, particularly for larger accent walls.
Peel and stick murals simplify the installation process for homeowners seeking temporary or semi-permanent solutions. These pressure-sensitive products eliminate the need for adhesive paste or special tools, making them ideal for renters or those wanting design flexibility. Begin by removing the backing from your peel and stick murals slowly and deliberately, exposing the adhesive layer gradually rather than all at once. Start from one corner of your mural wallpaper section, pressing firmly while avoiding air bubbles and wrinkles.
Use a plastic squeegee or credit card to smooth the surface as you progress across the wall. Work from the center outward to push trapped air toward edges and corners. If bubbles form, carefully lift the affected section slightly and re-smooth. The forgiving nature of peel and stick murals allows repositioning if alignment issues arise during early application stages. Once fully adhered, avoid disturbing the surface for 24 hours to allow the adhesive to reach maximum strength.
Traditional mural wallpaper requires paste application and more deliberate installation technique. Mix adhesive according to manufacturer specifications, ensuring consistent texture without lumps. Cut your wall mural designs to size, allowing slight overlap at edges and corners for precise trimming later. Apply adhesive evenly to the wall using a brush or roller, covering an area matching the width of your first panel.
Position your custom wall murals panel carefully against the adhesive, using your centerline as a guide. Press firmly from top to bottom and center outward, eliminating air pockets and excess adhesive. Overlap subsequent panels slightly if your design requires multiple sections, matching patterns precisely before pressing firmly. Use a seam roller on panel edges to ensure proper bond formation. Traditional application requires more precision but offers superior permanence compared to peel and stick murals.
After your wall mural designs are firmly adhered, trim excess material at ceiling lines, baseboards, and wall corners using a sharp utility knife. Change blades frequently to ensure clean cuts rather than tearing. For peel and stick murals, trim carefully to avoid lifting edges that were just applied. Traditional wallpaper installations benefit from sealing edges with a small amount of overlap adhesive to prevent peeling over time. Test your blade angle and cutting pressure on inconspicuous areas first.
Inspect all seams where multiple panels of custom wall murals meet, ensuring tight adhesion without visible gaps. Press seam edges firmly using a seam roller, applying consistent pressure. Any visible gaps should be addressed immediately while adhesive remains workable. Allow traditional mural wallpaper installations to cure for at least 48 hours before exposing to moisture or heavy traffic. Peel and stick murals typically reach full adhesion strength within 24 hours.
Proper maintenance extends the life of your wall mural designs significantly. For most peel and stick murals, gentle cleaning with a soft cloth and mild soap solution removes dust and light marks without damaging the adhesive. Avoid excessive moisture and abrasive scrubbing that might compromise the bond. Traditional mural wallpaper can tolerate slightly more aggressive cleaning but still requires careful handling to prevent tears or seam separation.
Monitor your mural wallpaper installation periodically for any signs of peeling, moisture damage, or separation. Address minor issues immediately by applying additional adhesive behind lifting edges. Keep installation documentation and remaining product for future repairs. Environmental factors like humidity fluctuations and temperature changes may affect adhesive performance over time, so maintaining consistent room conditions helps preserve custom wall murals appearance and longevity.
Yes, peel and stick murals are designed for easy removal with minimal wall damage when applied to clean, painted surfaces. Gently lift corners and edges slowly, pulling at a shallow angle to separate the adhesive gradually. Most quality peel and stick murals release cleanly without leaving residue, though stubborn spots may require warm water or a plastic scraper. Always test removal on a small corner first to ensure your wall's finish can tolerate the process safely.
Quality custom wall murals last between five to ten years depending on material type, environmental conditions, and maintenance practices. Peel and stick murals typically remain viable for three to five years before adhesive loses effectiveness. Traditional mural wallpaper with proper installation and care can exceed ten years of acceptable appearance. Factors like humidity, temperature fluctuations, sunlight exposure, and wall traffic patterns influence longevity significantly. Choosing appropriate product types for your room's conditions maximizes lifespan.
Common installation mistakes include inadequate wall surface preparation, failing to measure and plan properly, applying adhesive inconsistently, and rushing the curing process. Never install mural wallpaper over dusty, greasy, or damp surfaces. Avoid using excessive force during application that creates permanent wrinkles in the material. Don't position furniture against freshly installed custom wall murals before adhesive fully sets. Planning carefully and working methodically prevents costly material waste and disappointing results.

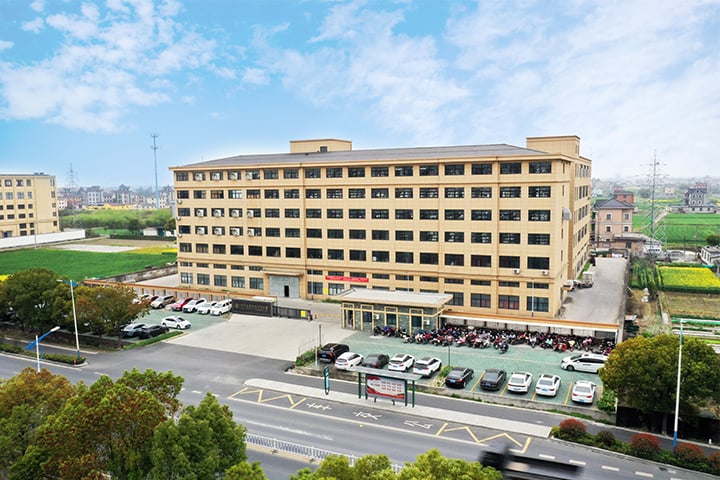
Hangzhou Meibi Decoration Material Co., Ltd. (FULITIR) delivers premium wallcoverings & soft decor solutions for luxury homes and chain hotels, trusted by Lavande, Vienna, Kyriad.
No.2001,Meilin Road,DangWan Town,XiaoShan district, HangZhou city,China
Copyright © 2026 Hangzhou Meibi Decoration Materials Co., Ltd. All rights reserved. Privacy Policy

 EN
EN
 Hot News