Creating Seamless Beauty with Classic European Floral Designs
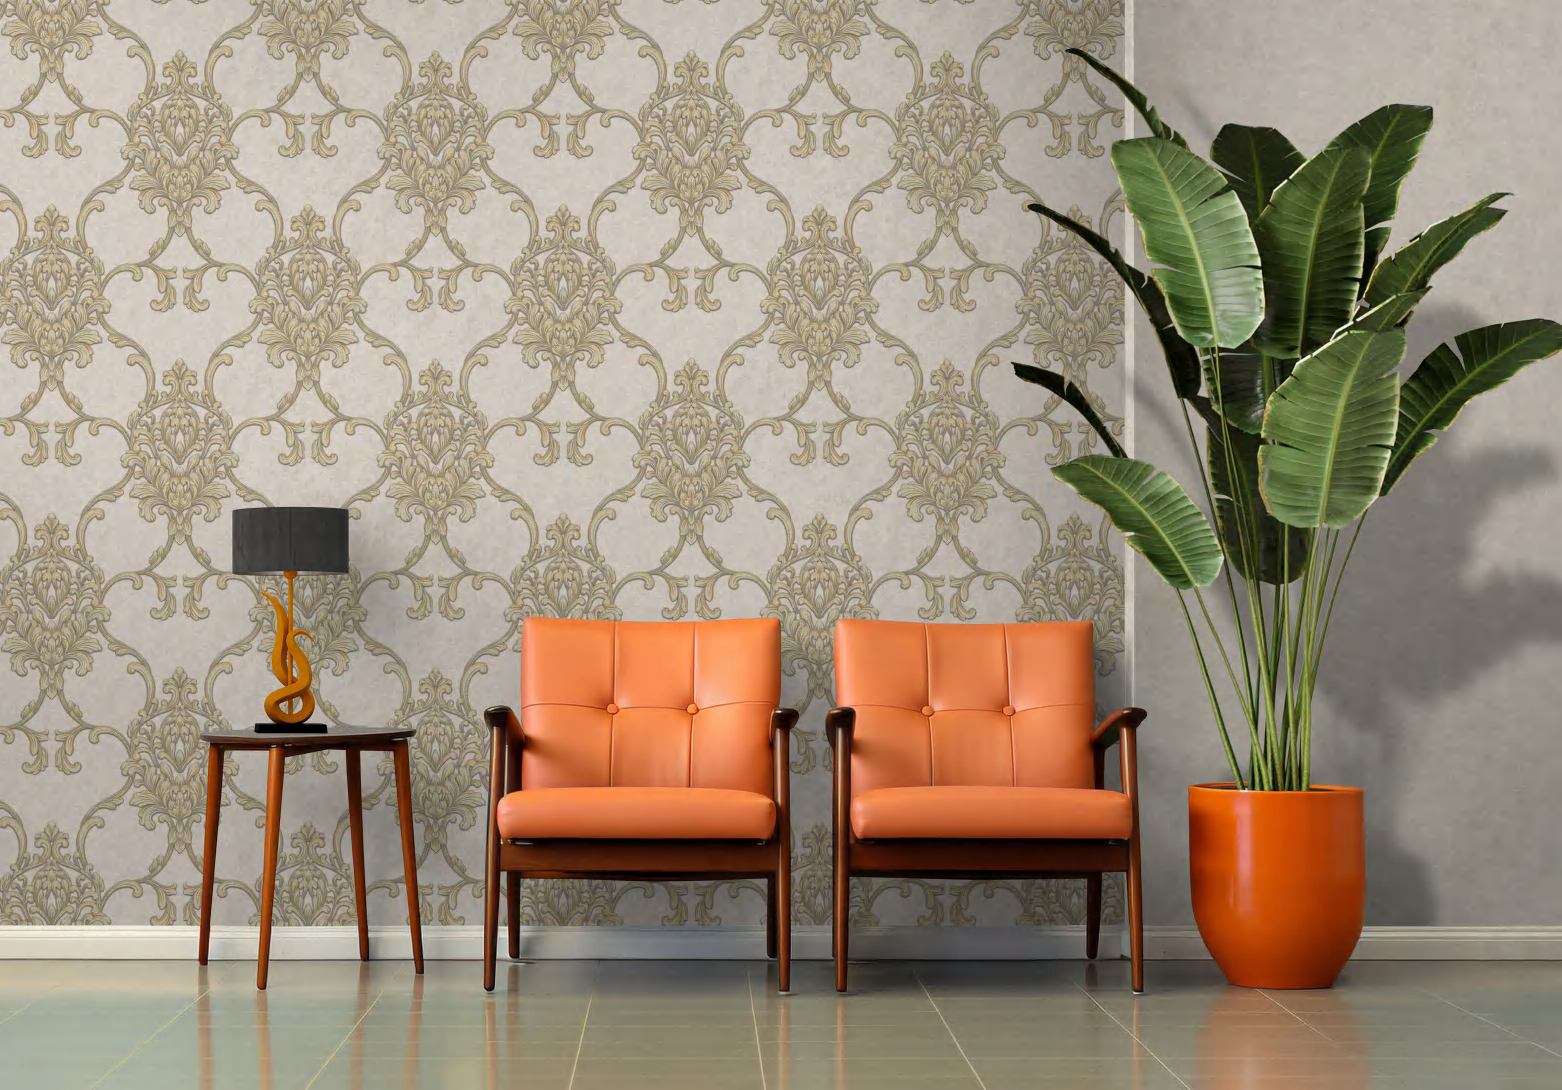
Transform your living space into an elegant European sanctuary with the timeless appeal of european flower wallpaper. This sophisticated wall covering option brings the delicate beauty of European botanical artistry directly into your home. The key to achieving a truly luxurious finish lies in proper installation techniques that eliminate visible seams, creating an uninterrupted flow of intricate floral patterns across your walls.
The seamless installation of european flower wallpaper requires careful attention to detail and proper preparation. When done correctly, the result is a stunning visual statement that elevates any room's aesthetic while maintaining the authentic charm of European design heritage. Let's explore the essential steps and professional techniques to achieve a flawless installation.
Essential Preparation Steps for Perfect Installation
Wall Surface Preparation
Before introducing your chosen european flower wallpaper to the walls, proper surface preparation is crucial. Begin by thoroughly cleaning the walls to remove any dust, dirt, or grease. Fill any holes or cracks with appropriate wall filler and sand the surface until completely smooth. For previously painted walls, light sanding helps create better adhesion.
Apply a high-quality primer specifically designed for wallpaper installation. This creates an ideal surface for the adhesive and helps ensure your european flower wallpaper will adhere properly. Allow the primer to dry completely, typically 24 hours, before proceeding with installation.
Material and Tool Requirements
Gather all necessary tools before starting the installation process. Essential items include a precise level, sharp utility knife, smoothing brush or plastic smoother, seam roller, measuring tape, pencil, and clean sponges. Choose a premium wallpaper adhesive that matches your specific european flower wallpaper type - whether pre-pasted or unpasted.
Calculate the required amount of wallpaper by measuring your room's dimensions carefully. Add extra material to account for pattern matching and possible mistakes. Having all materials ready ensures a smooth, uninterrupted installation process.
Professional Installation Techniques
Pattern Matching and Planning
The distinctive beauty of european flower wallpaper lies in its repeating patterns. Start by studying the pattern repeat and planning your installation sequence. Mark vertical plumb lines on the wall using a level to ensure straight installation. When dealing with large floral patterns, dry-lay several strips on the floor to visualize how patterns will align.
Begin installation from a corner or focal point, considering pattern placement for maximum visual impact. Cut strips to length, allowing extra inches at top and bottom for precise trimming. Pre-cutting multiple strips ensures consistent pattern matching throughout the installation.
Achieving Invisible Seams
The secret to seamless installation of european flower wallpaper lies in proper seam treatment. Apply adhesive evenly, ensuring complete coverage without oversaturation. When hanging adjacent strips, butt edges together precisely without overlapping. Use a seam roller with gentle pressure to secure edges without forcing adhesive out.
Work in manageable sections, carefully smoothing each strip from center to edges to eliminate air bubbles. Clean any adhesive residue immediately with a clean, damp sponge to prevent damage to the wallpaper surface. Pay special attention to corners and edges where seams are most noticeable.
Finishing Touches and Maintenance
Final Trimming and Detailing
Once your european flower wallpaper is installed, careful trimming ensures a professional finish. Use a sharp utility knife and straight edge to trim excess material at baseboards and crown molding. Change blades frequently to maintain clean cuts. Address any minor imperfections immediately while adhesive is still workable.
Allow proper drying time before replacing switch plates or hanging artwork. Keep the room well-ventilated but avoid direct fans or heat sources that might affect adhesive curing. Inspect seams after 24 hours to ensure proper bonding.
Long-term Care Instructions
Preserve the beauty of your european flower wallpaper through proper maintenance. Avoid excessive moisture or direct sunlight that could fade or damage the pattern. Dust regularly with a soft brush attachment or clean, dry cloth. Address any stains promptly using appropriate cleaning methods for your specific wallpaper type.
Consider using climate control to maintain consistent room temperature and humidity levels, which helps prevent seam separation over time. With proper care, your expertly installed european flower wallpaper will maintain its elegant appearance for many years.
Frequently Asked Questions
What special considerations are needed for textured European flower wallpaper?
Textured european flower wallpaper requires extra attention during installation. Use a longer booking time to allow proper adhesive absorption, and employ a softer smoothing tool to avoid damaging the surface texture. Pattern matching may need additional care to ensure both pattern and texture align perfectly at seams.
How long should I wait before decorating my newly wallpapered room?
Allow at least 48 hours for your european flower wallpaper to fully dry and set before hanging artwork or replacing furniture against the walls. This ensures proper adhesion and prevents potential damage to seams or surface areas.
Can European flower wallpaper be installed in bathrooms?
While european flower wallpaper can be installed in bathrooms, choose moisture-resistant varieties specifically designed for high-humidity environments. Ensure proper ventilation and consider additional sealing treatments for areas near water sources. Professional installation is highly recommended for bathroom applications to prevent moisture-related issues.